Five Backpacking Recipes You’ll Drool Over
By: Kimball Stewart
Most people equate backpacking food with dehydrated food. Simply adding hot water to a bag of ingredients is easy and surprisingly tasty, but it’s not the only way to eat in the backcountry.
After a long day spent on the trail, hunger can be an unwieldy beast. As a 24 year-old with a perpetually ravenous appetite, I have been known to eat just about anything—regardless of if I hiked that day or not. I certainly appreciate easy-to-cook meals, but after a while they wear out their welcome. For me, it’s worth putting in the extra effort to create a truly home-cooked meal.
At Lasting Adventures, we pride ourselves on cooking and eating fresh food. When you tote a bag of juicy bell peppers up the trail, they end up tasting better than you could have imagined (despite weighing more than you’d hoped). Slogging fresh ingredients into the wilderness does require more effort than bringing a bag of Mountain House black bean chili, but I believe it’s worth it. So the next time you head out on a backpacking trip, treat yourself to a fresh meal. If you join us on one of our guided trips, you’re guaranteed to eat well!
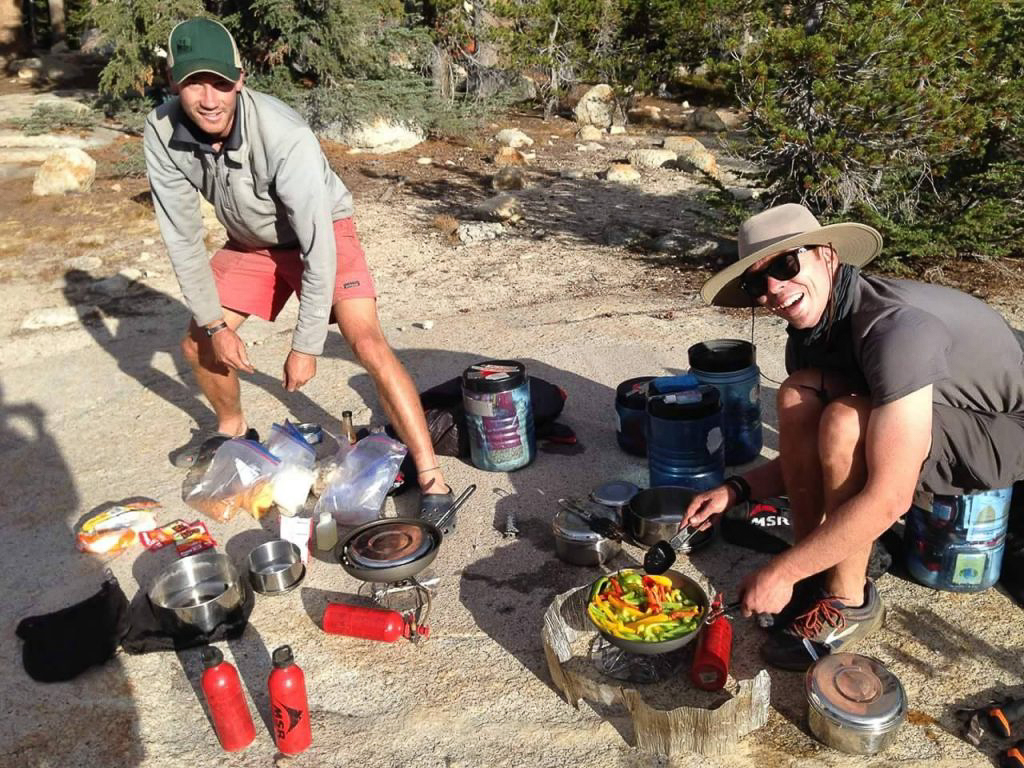
A note on backcountry cooking gear: Many hikers and backpackers get by with only needing hot water for their meals. Small stoves like the Pocket Rocket or JetBoil are lightweight and incredibly efficient at boiling water quickly while you hungrily wait. If you plan on eating dehydrated or freeze-dried meals, this is the extent of the gear you’ll need. But with a few additional pieces of kitchen gear, you can transform an ordinary meal into an exciting culinary adventure. For starters, it’s important to have a stove that is able to accommodate pots and pans. At Lasting Adventures, we use the MSR Whisperlite which is still lightweight and small, but allows for more than simply boiling water. Additionally, for most backcountry cooking endeavors, it’s crucial to have a couple small pots and a lightweight frying pan. With these “appliances” the world is at your fingertips—as far as what you’re capable of crafting in the kitchen.
To provide some inspiration for your next backpacking trip—and to get your taste buds quivering—I’ve provided five of my favorite recipes below. Enjoy!
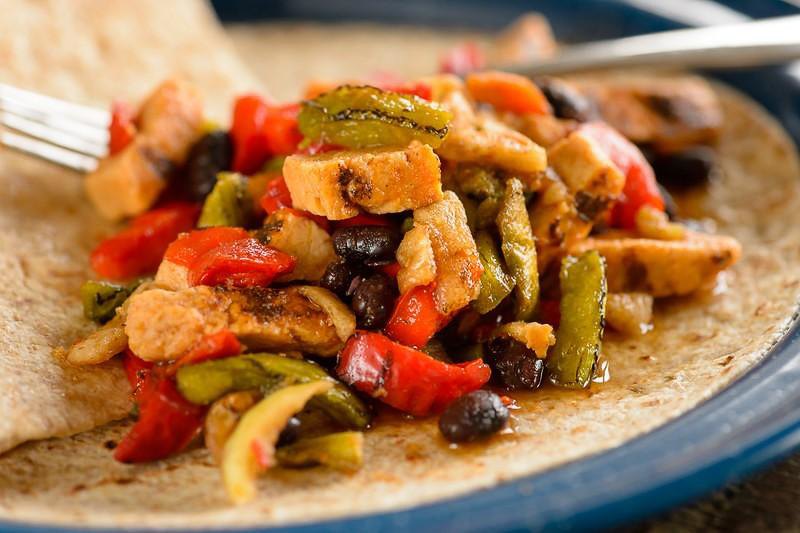
Chicken Fajitas
Ingredients:
- One large sweet onion
- Two bell peppers
- Pre-cooked chicken breasts, cut into strips
- Tortillas
- Shredded cheese
- Dehydrated bean mix
- Packet of fajita seasoning
- Olive or vegetable oil
Directions: Begin by re-hydrating your beans in a small pot. Most varieties of instant beans absorb boiling water with remarkable gusto. Once you’ve added more water than you think you’ll need, stir vigorously until you’ve reached the desired consistency (I prefer goopy, but not runny). Next, oil your pan and add the chopped onion and pepper. To expedite the cooking process (your hungry friends lurking over your shoulder will appreciate this) add a splash of water to the pan and cover with a lid. This will steam the veggies a bit, helping to tenderize them. Once your onions and peppers are nearing completion, add in the chicken strips and fajita seasoning. Stir everything together until well blended. You’re done! Serve this with the beans and cheese on a tortilla.
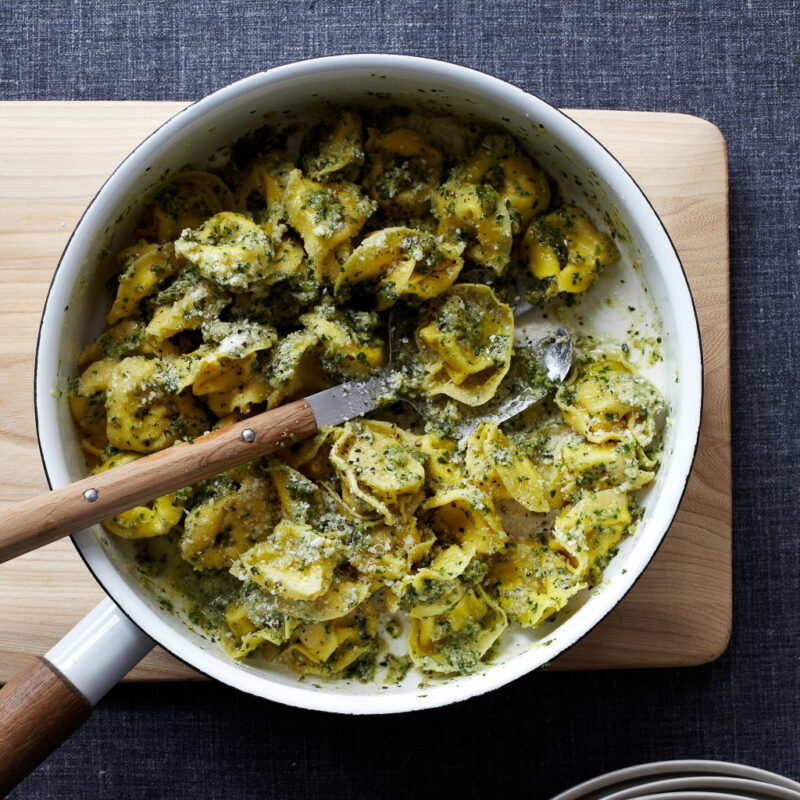
Pesto Tortellini
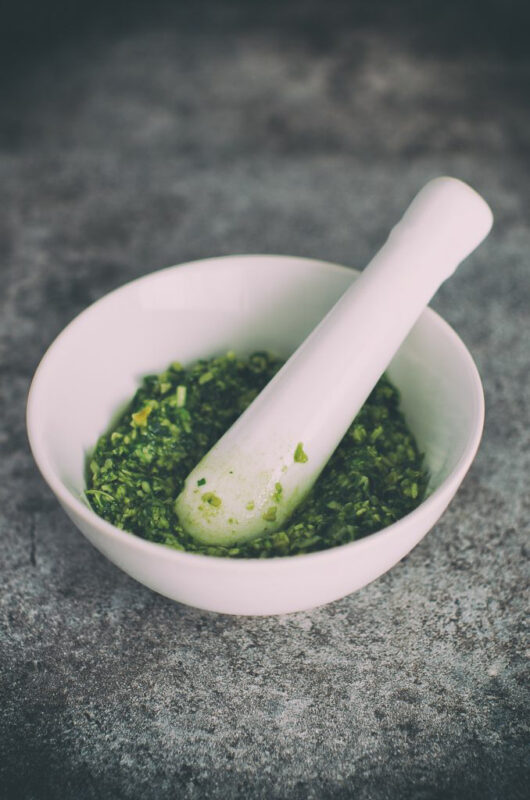
Ingredients:
- Packet of tortellini
- Pesto (dried–in a packet–if you’re lazy, fresh if you’re ambitious)
- Sun-dried tomato pieces
- One large sweet onion
- Sausage (optional)
Directions: Begin by caramelizing your onion in a pan. If you’re a carnivore and like sausage, try cutting up a few pre-cooked links and adding them to your onion. Set aside the onion and sausage, and boil a pot of water. Add in the tortellinis and sun-dried tomatoes, stirring so they don’t stick to the bottom. By adding the sun-dried tomatoes early, they’ll be plump and delicious by the time the tortellini is done. Once cooked, drain out almost all of the water—leaving enough to moisten the pesto sauce if you’re using the dried stuff. Stir in the onions and sausage, and PRESTO! you’ve got yourself a pesto memory that’ll last a lifetime.
Vegetable Stir Fry
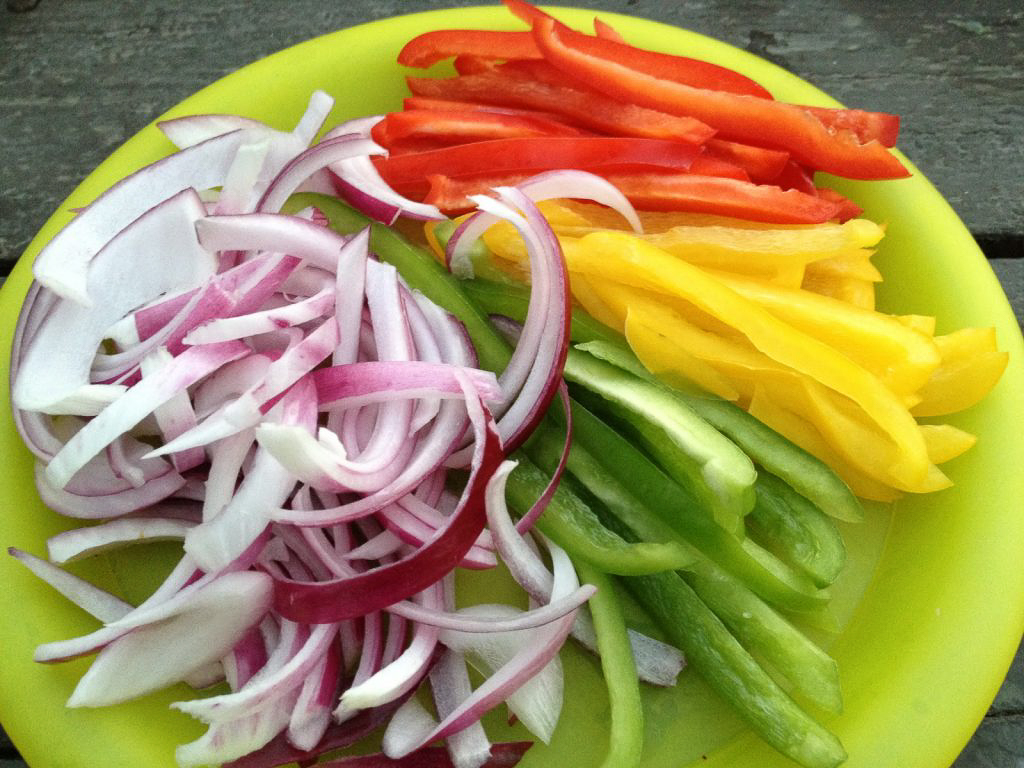
Ingredients:
- Veggies of your choice (suggested: peppers, broccoli, carrots, onions)
- Water chestnuts
- Stir-fry sauce (dried in a packet)
- Oil
- Peanuts (optional)
- Instant rice
Directions: This is an easy one, folks! And delicious! And healthy! If you plan on cooking this, I suggest cutting your veggies at home, as this will make your life easier once at camp. You can transport them in ziploc bags which will retain their freshness. Start by hydrating your instant rice. Once cooked, set aside. Next, sautée your veggies in oil. This might take longer than you think, so give yourself plenty of time. Again, steaming them first by adding water and covering with a lid will speed up the process. Once your veggies are tender, mix in the stir-fry sauce. Finally, add the water chestnuts and peanuts at the last minute to ensure the stay crispy. Serve on a bed of rice!
Breakfast Burritos
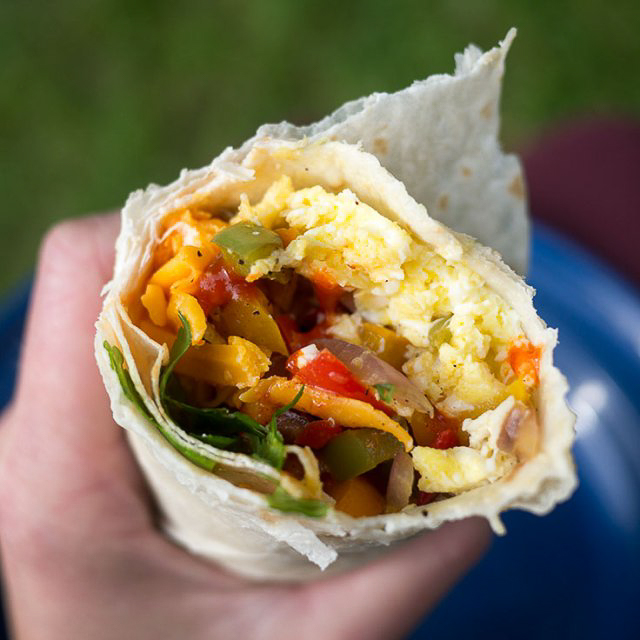
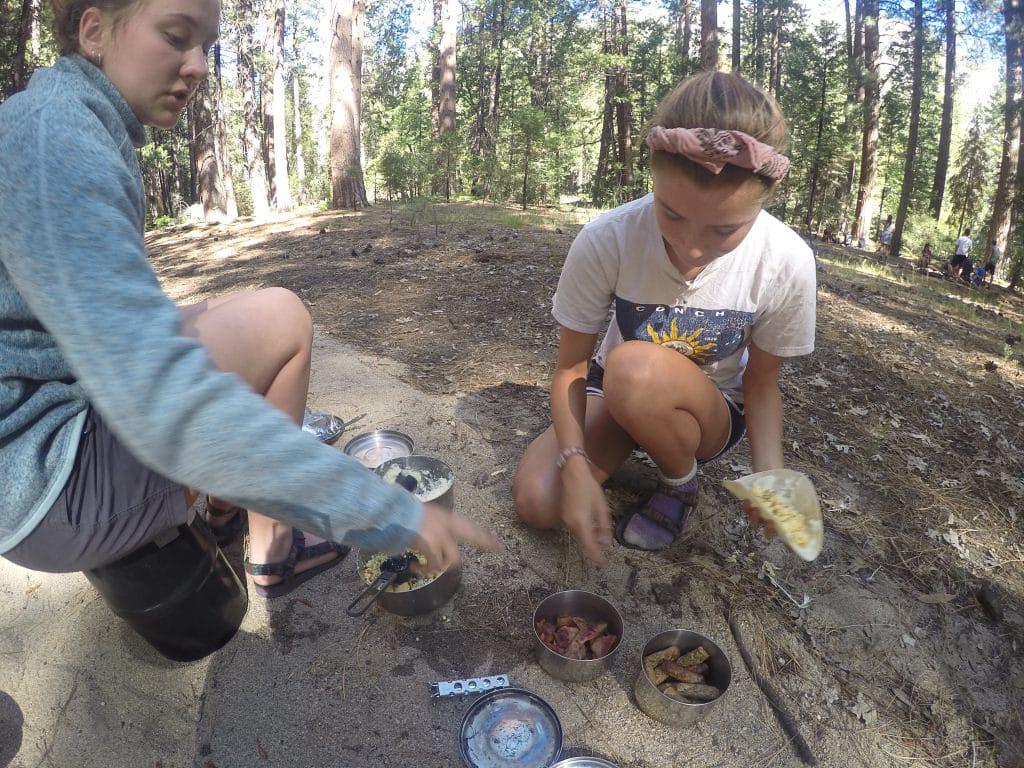
Ingredients:
- Eggs (shelled and stored in plastic water bottle)
- Pre-cooked bacon or sausage (or both!)
- Instant mashed potatoes
- Shredded cheese
- Tortillas
Directions: Start by hydrating the mashed potatoes using boiling water in a small pot. Once they reach the desired consistency, set aside. Crisp the meat—trying to leave as much grease in the pan as possible. Once crispy, set aside. Next, shake up your bottle of shelled eggs until sufficiently blended, then scramble in the grease-coated pan. BAM! You’re done. Serve the scrambled eggs, meat, and mashed potatoes on a tortilla with shredded cheese.
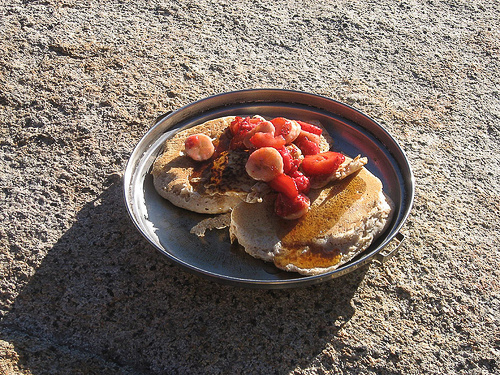
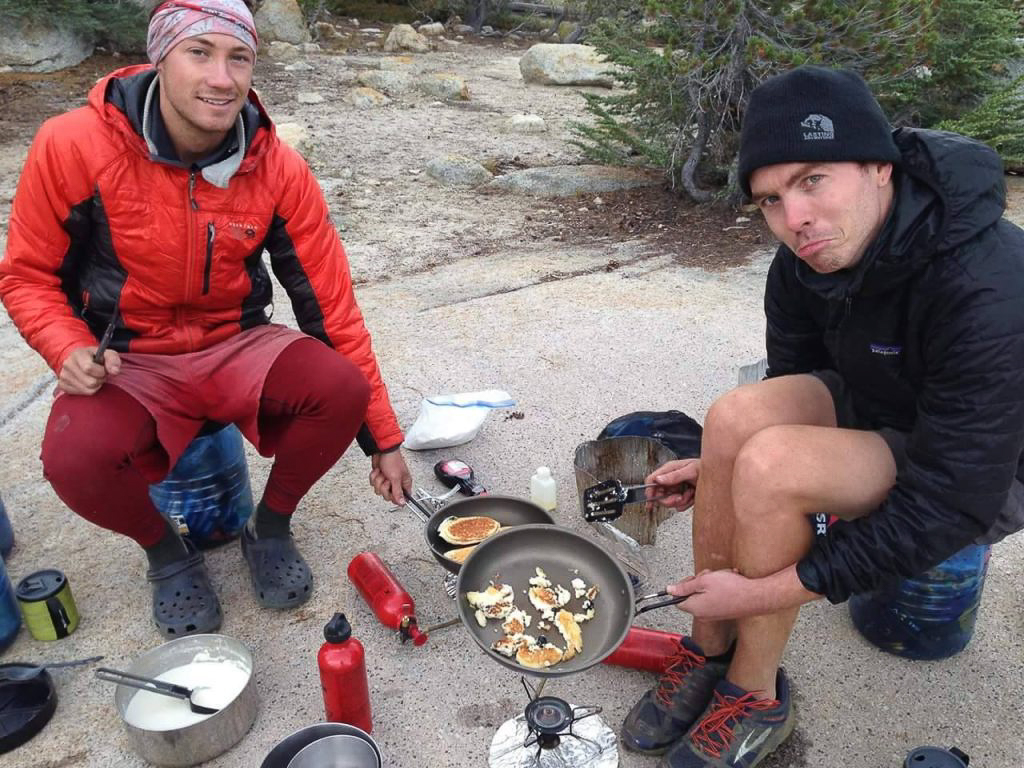
Blueberry Chocolate Chip Pancakes
Ingredients:
- Pancake mix
- Oil or butter
- Fresh blueberries
- Chocolate chips or M&M’s
- Maple syrup
Directions: Here’s a backcountry breakfast you won’t ever forget. Make these pancakes as you would at home—just expect to enjoy them more than ever before. In a medium-sized pot, add cold water to your instant pancake mix, stirring until the right consistency. Add in the blueberries and chocolate chips, and stir briefly. Next, on a heated pan coated with butter or oil, drop in the batter. Even with a greased pan, the pancakes will tend to burn if you aren’t careful. To avoid this, hold the pan about four inches above the flame. Your forearm might get tired, but it’s worth it. You’ll need a spatula for the flipping process. You can improvise one, or plan ahead and bring one from home. If you plan on making pancakes in backcountry often, it might be worth buying a foldable plastic spatula from REI or a similar store.
Experiment, improvise and most importantly don’t be afraid to make mistakes! You’ll be a backcountry chef in no time!!
– Happy Hiking –
P.S. Don’t forget to save room for dessert!
